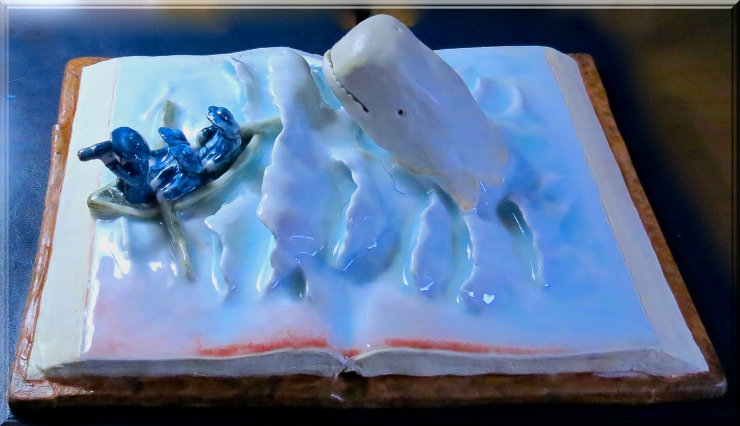
How a Heap of Mud Becomes Something
I’ve been away from sculpting for a while, but now with a few new ideas, its time to get back to carving clay. I enrolled in a class at the Community Arts Center with Bob Deane, potter extraordinaire.
Down the Rabbit Hole

White Rabbit, Wikipedia
A tree in my front yard became the inspiration for a whimsical addition: the door to the rabbit hole in Alice in Wonderland, the novel written by Lewis Carroll in 1865. In Chapter One of the book, the story introduces us to the rabbit wearing the iconic waistcoat and carrying a pocket watch. The rabbit’s classic line, “Oh dear! Oh dear! I shall be too late!” reminds us of the ever-present passing of time and the immediate responsibilities we carry.
The project began with buying a 25-pound bag of sculpting clay. The clay is soft and malleable, perfect for making objects; but for creating walls for the rabbit hole and door, I needed to create slabs that would harden so that they could stand and then be attached together. That process included rolling the clay into flat pieces and allowing them to dry either by putting them under a heat lamp or letting them dry out over time. Once the slabs were solid but not completely dry, I could attach the pieces by using a paste of clay and water after roughing up the surfaces. Before attaching the pieces, I carved out the door so that it would lay flat allowing me to add the details including the hinges and door handle.
The rabbit began as a two wads of clay, one for the body and the other the head. Once I figured the right sizes, I roughly hollowed out the two, and adding feet and arms. I attached the two pieces, and added extra clay to form the waistcoat. Creating a chain for the watch is almost impossible in clay, so I’m going to use a metal chain, which I will attach when the rabbit is finished. I made openings for the chain, making sure that with a 23% shrinkage, the chain would still fit through the opening. With the clay at the right consistency, I carved out the details. I used three or four pictures as guides.
Slides reveal the transformation from slabs of clay to whimsical art for the yard . . . with help a little help from my friends, with Jean, assisting with the painting, and Bob, who advised on the glazing technique.
This slideshow requires JavaScript.
Terrarium Centerpiece
 For the next project, I carved a “wee house,” inspiration coming from Pinterest, pages which display every kind of fairy house imaginable. Years ago, I had carved a few houses for my garden and enjoyed the project.
This house required a great deal of measuring for all the pieces to come together. Not all parts, especially the windows, are perfectly square. With clay, it is easy to add a bit here and there to make the pieces line up. I gained a new-found respect for carpenters, knowing that they could not do as much fudging with wood as I did with clay. The most difficult part was getting the roof to align with each side, especially the tall center window. Eventually, I would like to create a terrarium around the house.
This slideshow requires JavaScript.
Imagine, Make It So: Following my Own Advice
My last project was more abstract and larger than the other two. At one point attempting to close it up at the top, I thought I might have inadvertently caused the entire piece of fall to pieces. I quickly added extra clay on the inside to support the structure. I applied Bobby’s white glaze and sent it to the gas kiln. A little Jon Luke Pickard and a little John Lennon were the inspiring forces to this project, which will find its way into the garden.
This slideshow requires JavaScript.
0.000000
0.000000


Written
on 05/22/2015